

How To Create Sidebar In Wordpress
Why You Should Use Different Sidebars for Different Pages on Your WordPress Site
No matter the type of website you own, the content you display will inevitably differ from page to page. For example, your About page will surely have its own, unique structure, and will most likely offer different types of information compared to, say, your blog, products, or categories pages.
Now, WordPress contains a few widget-ready areas (like your footer area, your header, etc.) that are defined by the WordPress theme you're using. Usually, however, there is the same blog sidebar that gets displayed on all your pages, posts, categories, and archive pages.
If you add a custom sidebar to each of these page types, you have a chance to include widgets into it that will be more complementary to the content you're sharing on those pages. By doing this, you can personalize your sidebar to better fit the needs and interests of your visitors and thus make it more user-friendly, functional, and relatable to the page in question overall.
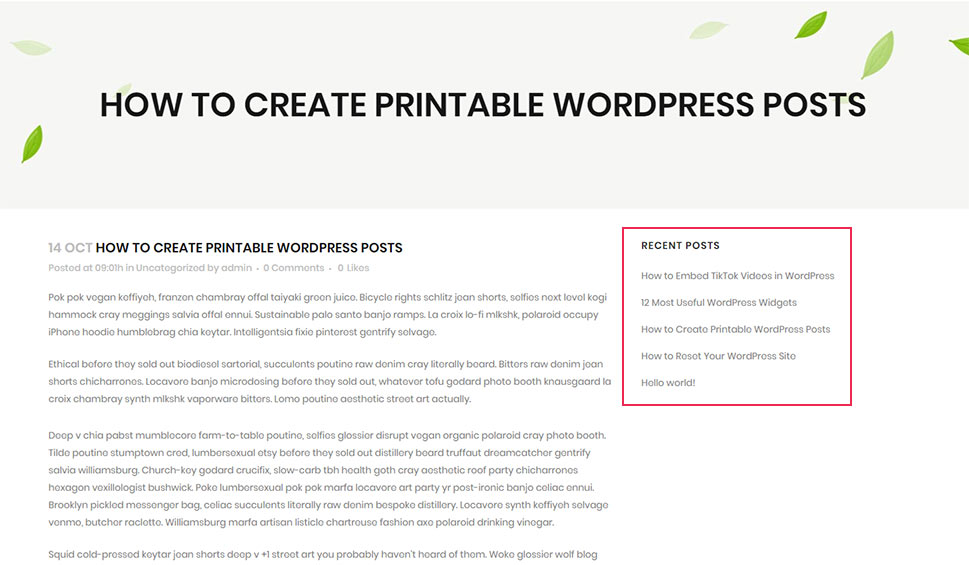
For example, on a specific blog post, you can add widgets into your sidebar that offer links to related posts or posts that are in the same category as the article itself. Or, on your About page, you can insert a widget that displays your navigational links, your social media buttons, etc. If you have products to sell, on your products' pages you can include things like a search bar widget, product categories, and so on.
In short, once you start using custom-tailored sidebars, your choices are limitless. Not only will your audience appreciate it, but you will also be able to create a more unique website that stands out among your competition.
Without further ado, let's see how you can add different sidebars to each page or post of your WordPress site.
Adding Different Sidebars to Posts and Pages in WordPress
When it comes to sidebar plugins, this is easily one of the best around. With the Custom Sidebars plugin, you can dynamically display custom widget configurations on any post, page, category, archive page, and any custom post type.
Once you install and activate the plugin, go to Appearance >> Widgets in your admin dashboard. As soon as you access the widgets screen, you will notice that the Widgets section now has a slightly different structure compared to before. For example, now there's the option to create custom sidebars appearing in the middle of the screen, and all your theme sidebars are located on the far right on the screen.
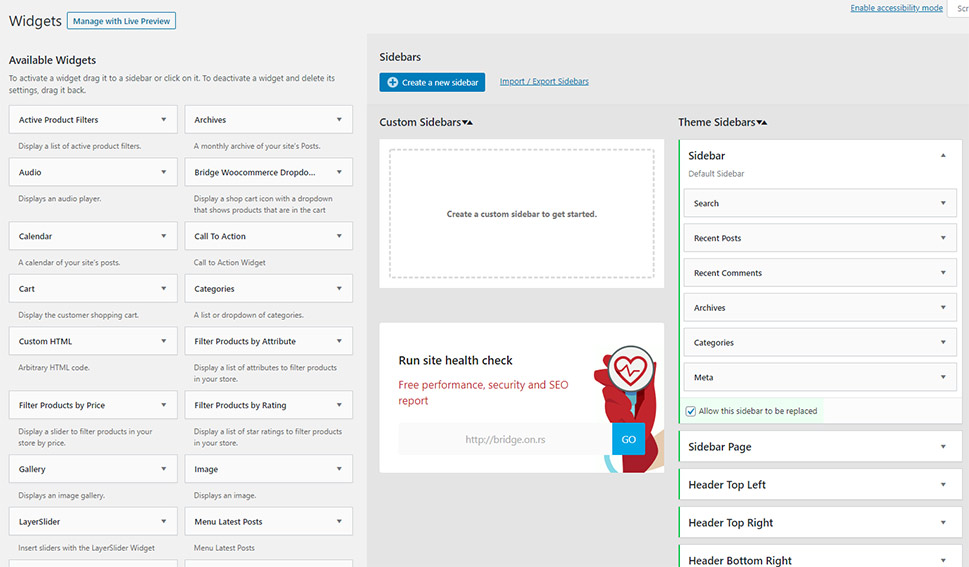
To begin, you should hit the Create a new sidebar button.
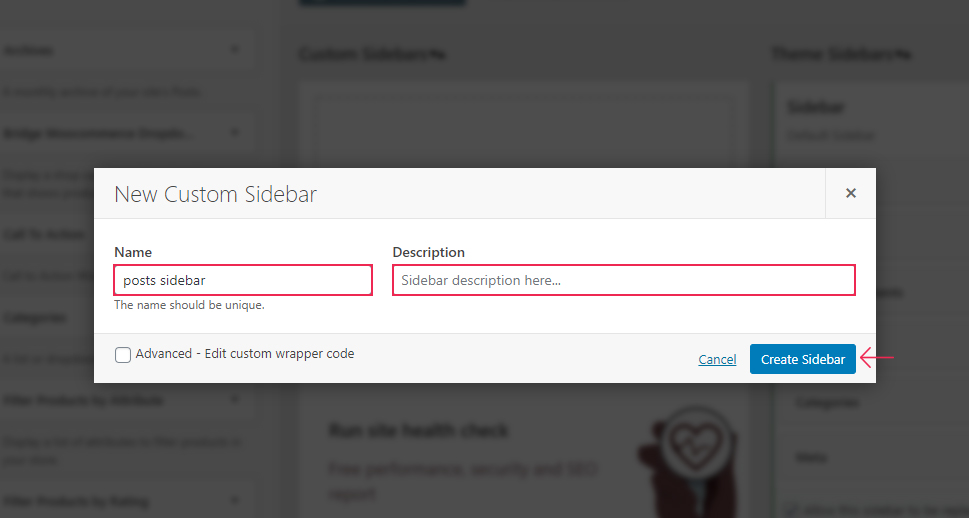
Name your custom sidebar and give it a description. Make sure that your sidebar name is unique and named in accordance to the page, post, or any other area of your site you want to insert your sidebar into.
Click the Create Sidebar button after you give it a name and a description.
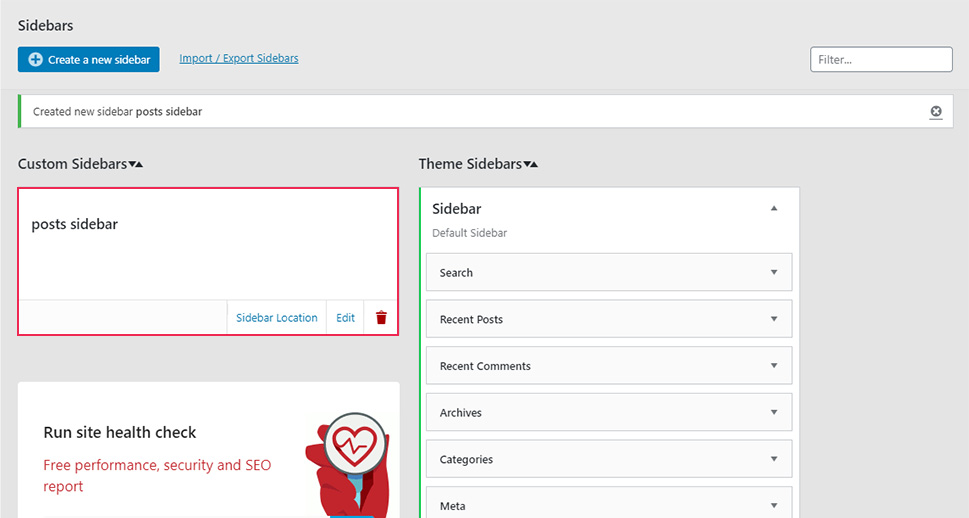
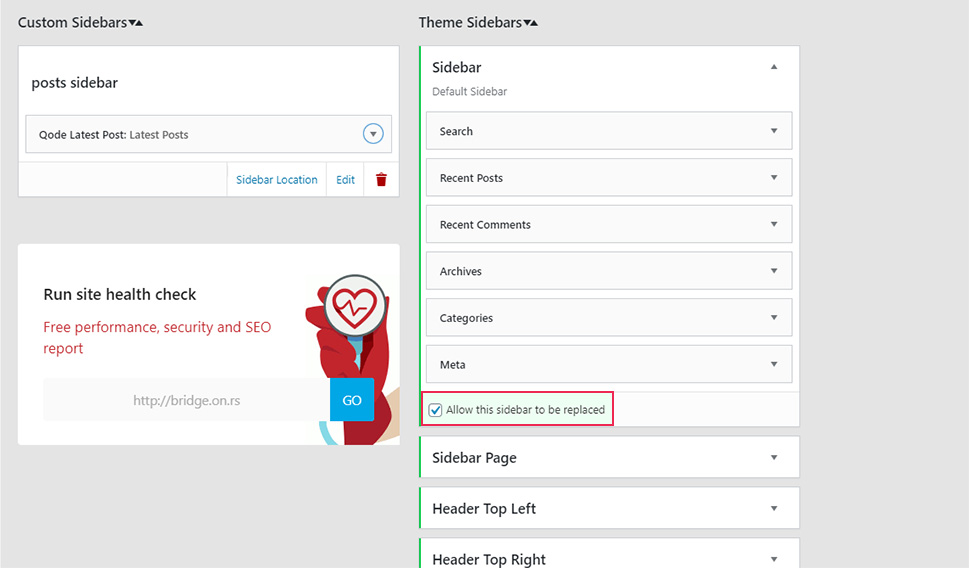
Once you return to the Widgets screen, you should see your new sidebar in the Custom Sidebars area.
Now, you should find the widget you want to have displayed and choose the sidebar for it, then hit the Add Widget button.
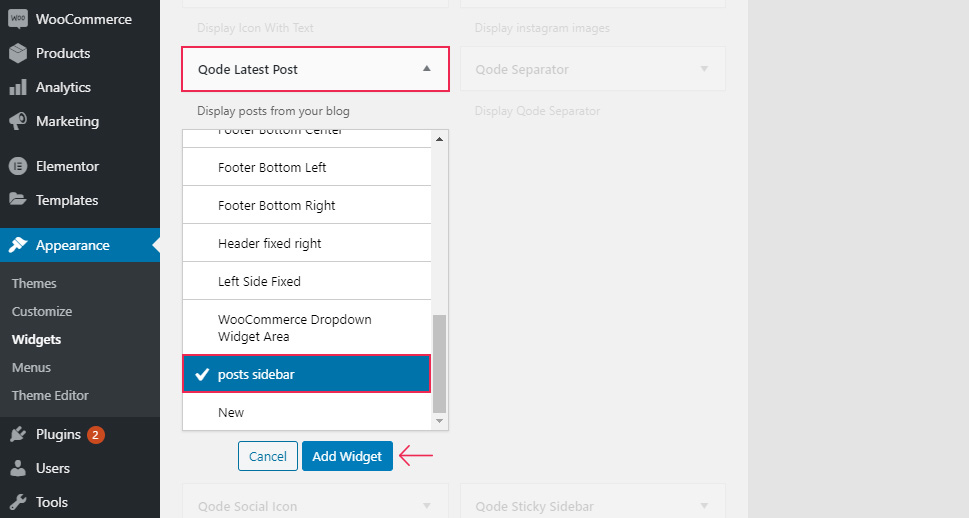
If you have trouble adding a widget in your custom sidebar, refresh the page and try again.
Now, you should note that if you want to replace a specific sidebar area with your own custom sidebar, you should make sure that the option "Allow this sidebar to be replaced" is marked right below the sidebar area in question. Unmarking this option will make this area visible on all posts or pages.
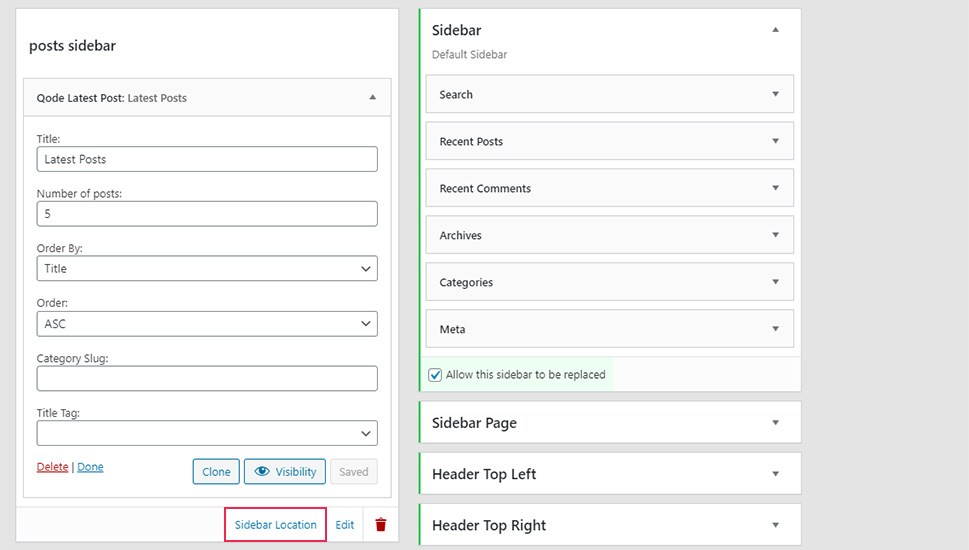
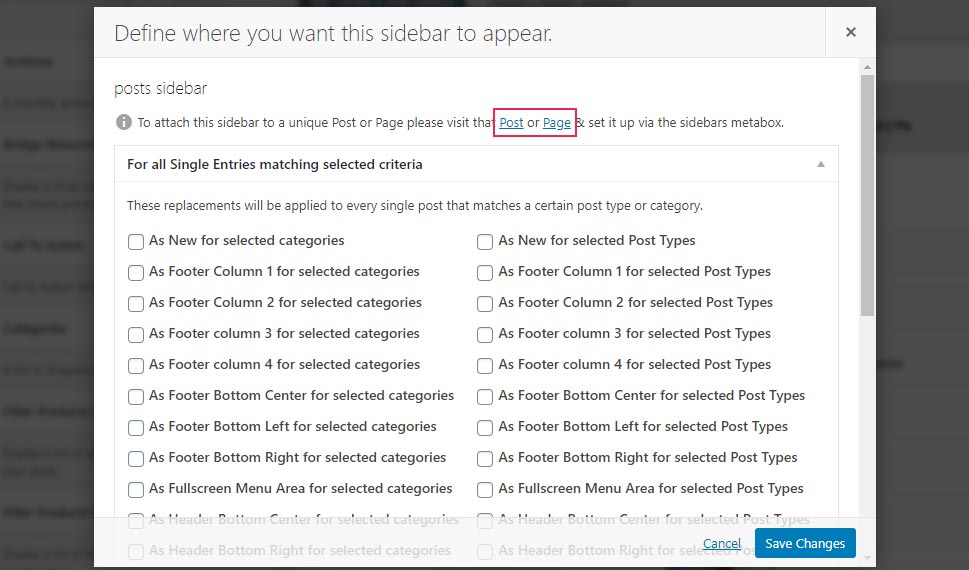
Next, you should click on Sidebar Location and define the area where you want your sidebar to appear, i.e. the sidebar area that should be replaced by your custom sidebar, as well as for which category, archive, or post type.
If you select Post Type, you will have the option to select pages, posts, or both.
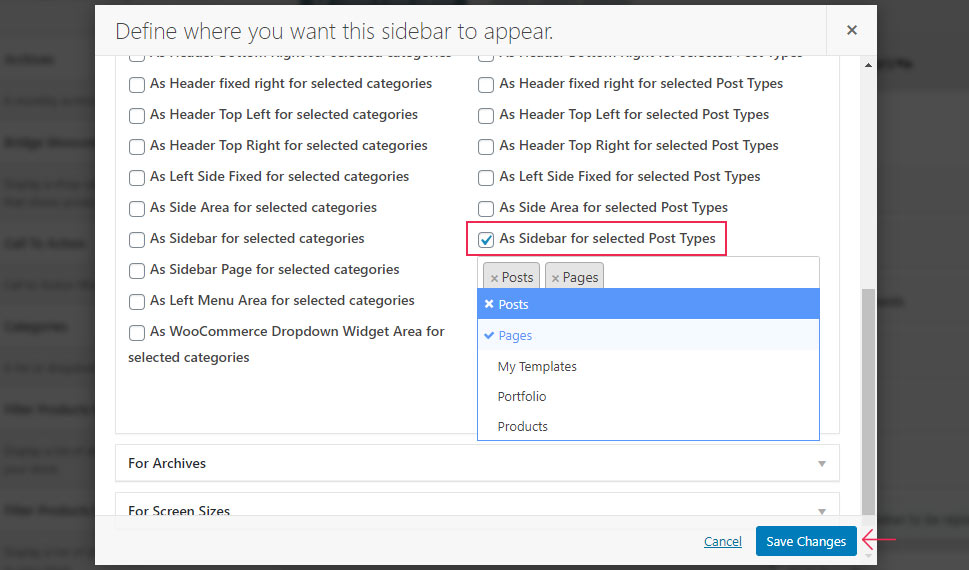
Save your changes once you're done.
This action will make all posts/pages, custom post types, and/or particular categories you selected contain the sidebar you created (and in the area you chose as well).
To see your sidebar in action, you can go to your page, post, or any custom post type where you added your custom sidebar to.
If you wish to add your sidebar to a specific page or post, just navigate to the page/post in question (or go to Pages/Posts >> Add New).
You can also go to Sidebar Location in your Widgets screen and access your page/post by clicking on one of these two links:
Once you find the page or post you're looking for, open the Sidebars dropdown on the right side of your screen. Here, you will be able to add your own custom sidebar(s) to the available sidebar area(s). Of course, make sure to hit the Publish/Update button once you're done.

Finally, we should note that the Sidebar option is the same for both the Classic editor and Gutenberg.
How To Create Sidebar In Wordpress
Source: https://qodeinteractive.com/magazine/add-different-sidebar-to-wordpress-page-post/
Posted by: fleckthervin.blogspot.com
0 Response to "How To Create Sidebar In Wordpress"
Post a Comment